
- Support
- How to Set Up a VPN on iOS – iPhone & iPad
- personalVPN™ IPSec Setup
personalVPN™ IPSec Setup for iOS (non-app)
This is an alternate setup for your iOS device, without using our iOS app.
Do the following steps from your iOS device.
Important note! You must use Safari on iOS to download your profile.
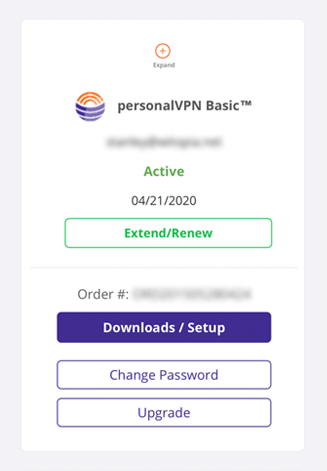
- Tap here to log in to your personalVPN dashboard.
- Tap on Download/Setup
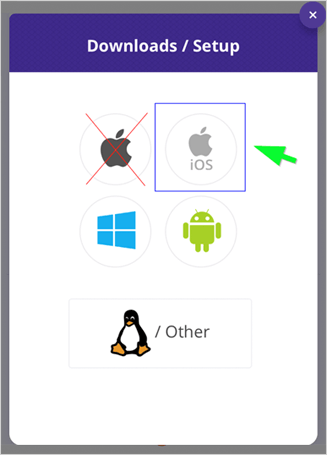
- Tap the iOS icon
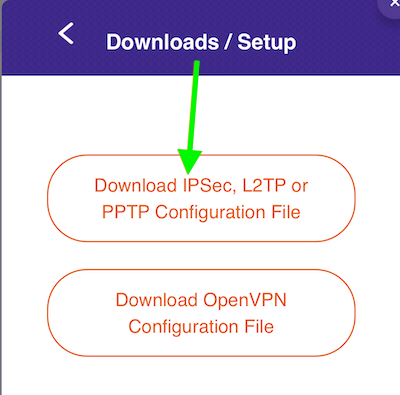
- Tap Download IPSec, L2TP, or PPTP, Configuration File
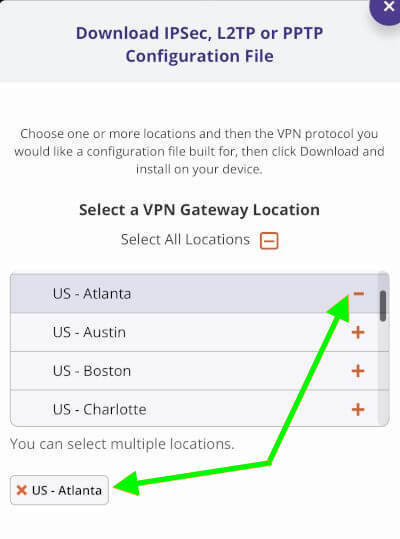
- Tap the plus sign to select the location(s) you want to setup
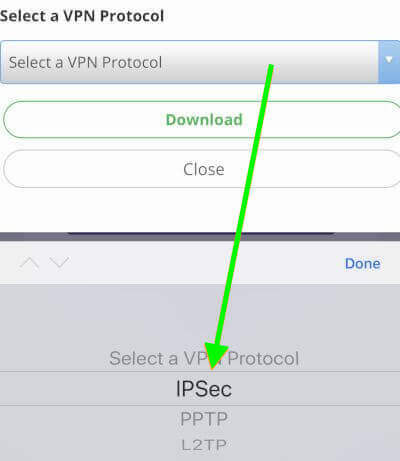
- Tap to select IPSec from the protocol list
- Tap Download
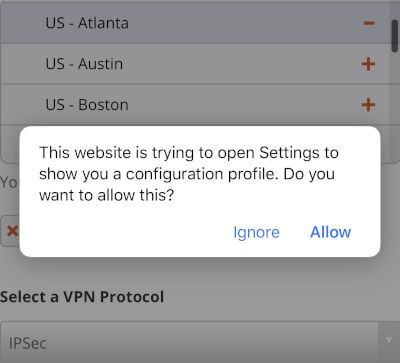
- Tap Allow on information box that comes up
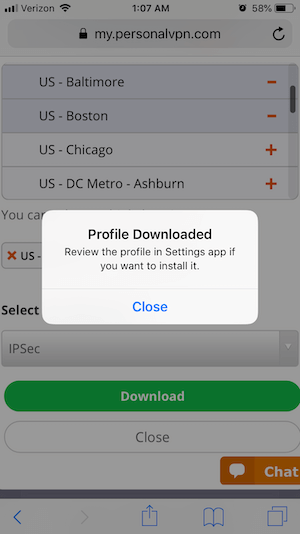
- Tap Close on second information box
- Tap your home button
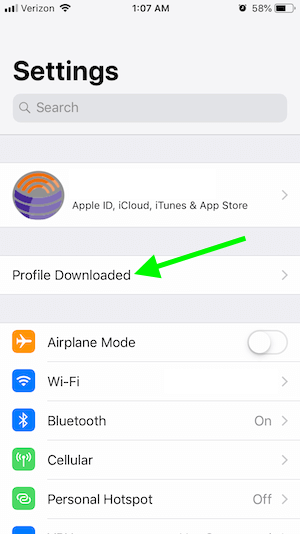
- Go to your iOS Settings
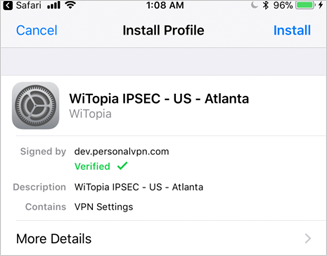
- Tap on the Profile Downloaded option that shows at the top of settings
- Tap on Install for the profile
- Enter your pin/passcode for the phone (if prompted)
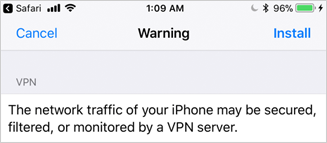
- Tap install on the warning message screen
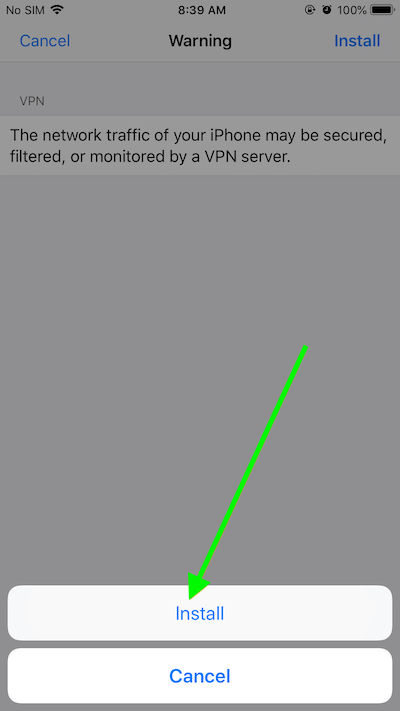
- Tap install again at the bottom of the screen via the pop-up
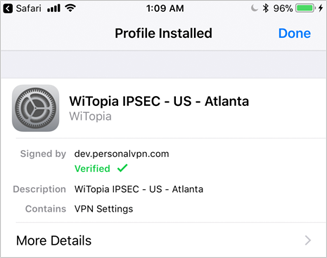
- Tap Done
- Tap on General at the top to go back to the main settings
- Tap Settings at the top
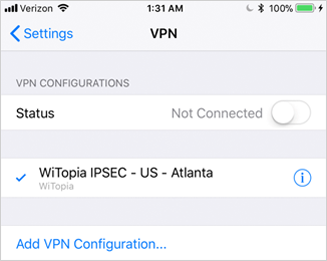
- Tap on VPN from the settings menu
- tap on the name of the VPN connection you want to connect to
- Tap on the status toggle switch at the top
- Tap ok on the connection notice
We selected Atlanta for this example, you can use any location(s) you like
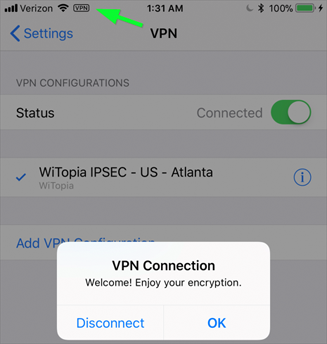
Enjoy the VPN
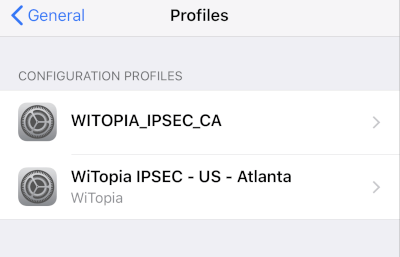
To remove the profile(s), go to: Settings > General > Profiles on your iOS device.
Tap the profile you wish to remove.
Tap Remove Profile in the next screen with your profile details.
Enter your passcode if/when prompted.
Note: If you see "WITOPIA_IPSEC_CA" do not remove this. This is not your VPN profile. This is your IPSec certificate. If you remove this, you will need to reinstall it to make certain types of connections.
Have more questions? Let us know how we can help you.